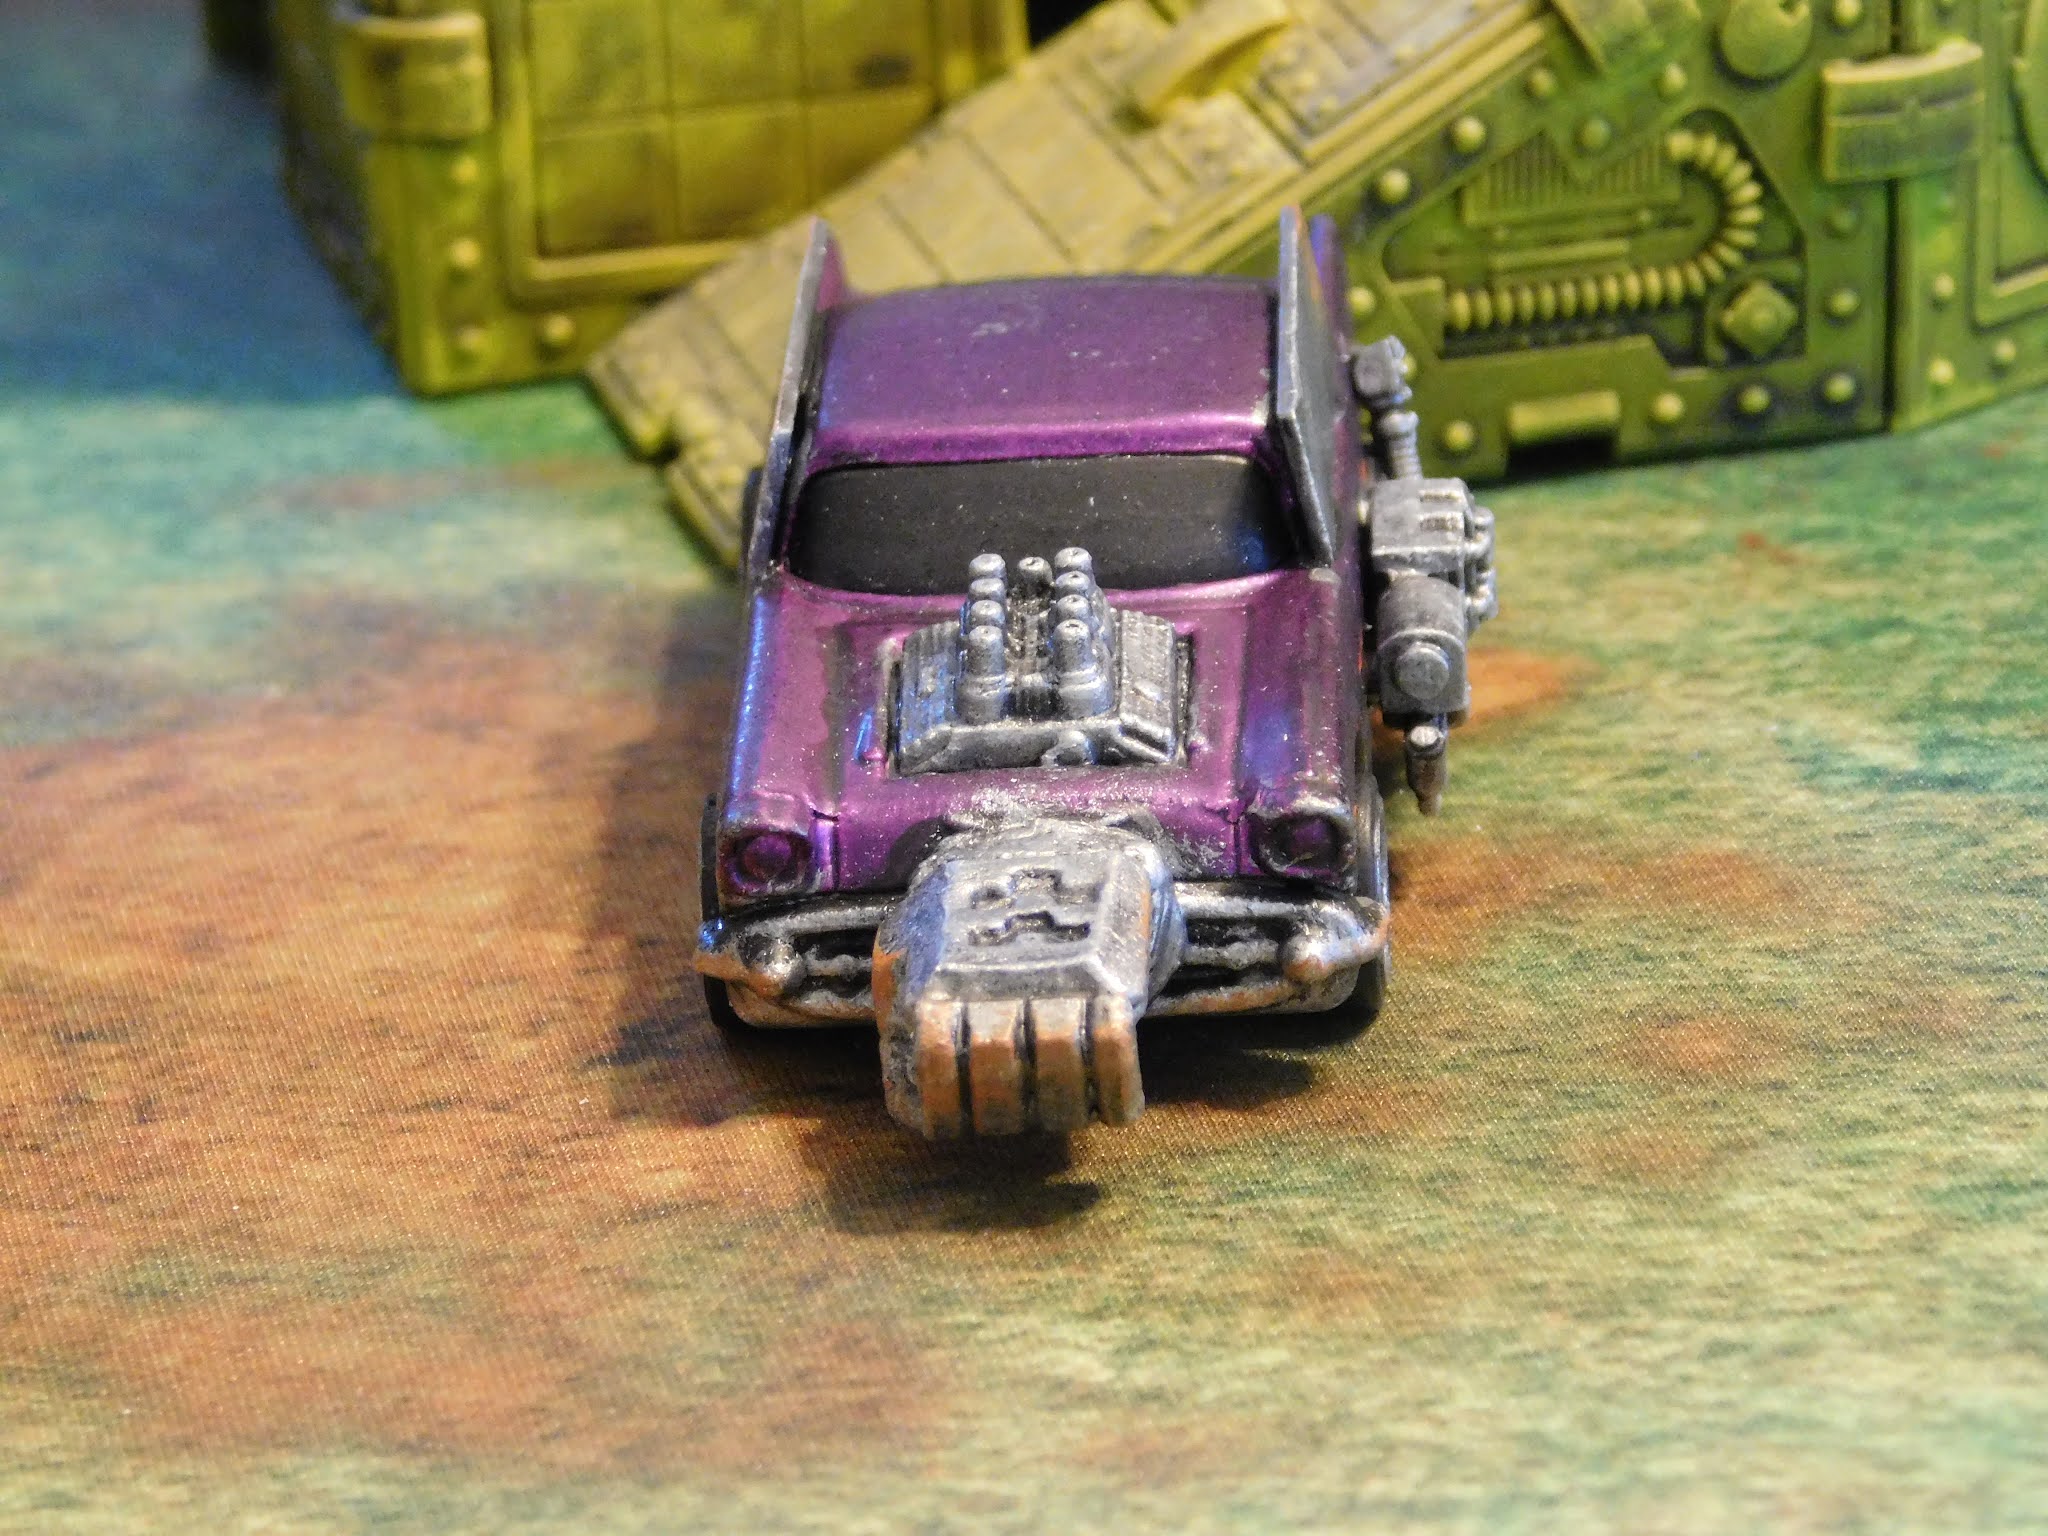
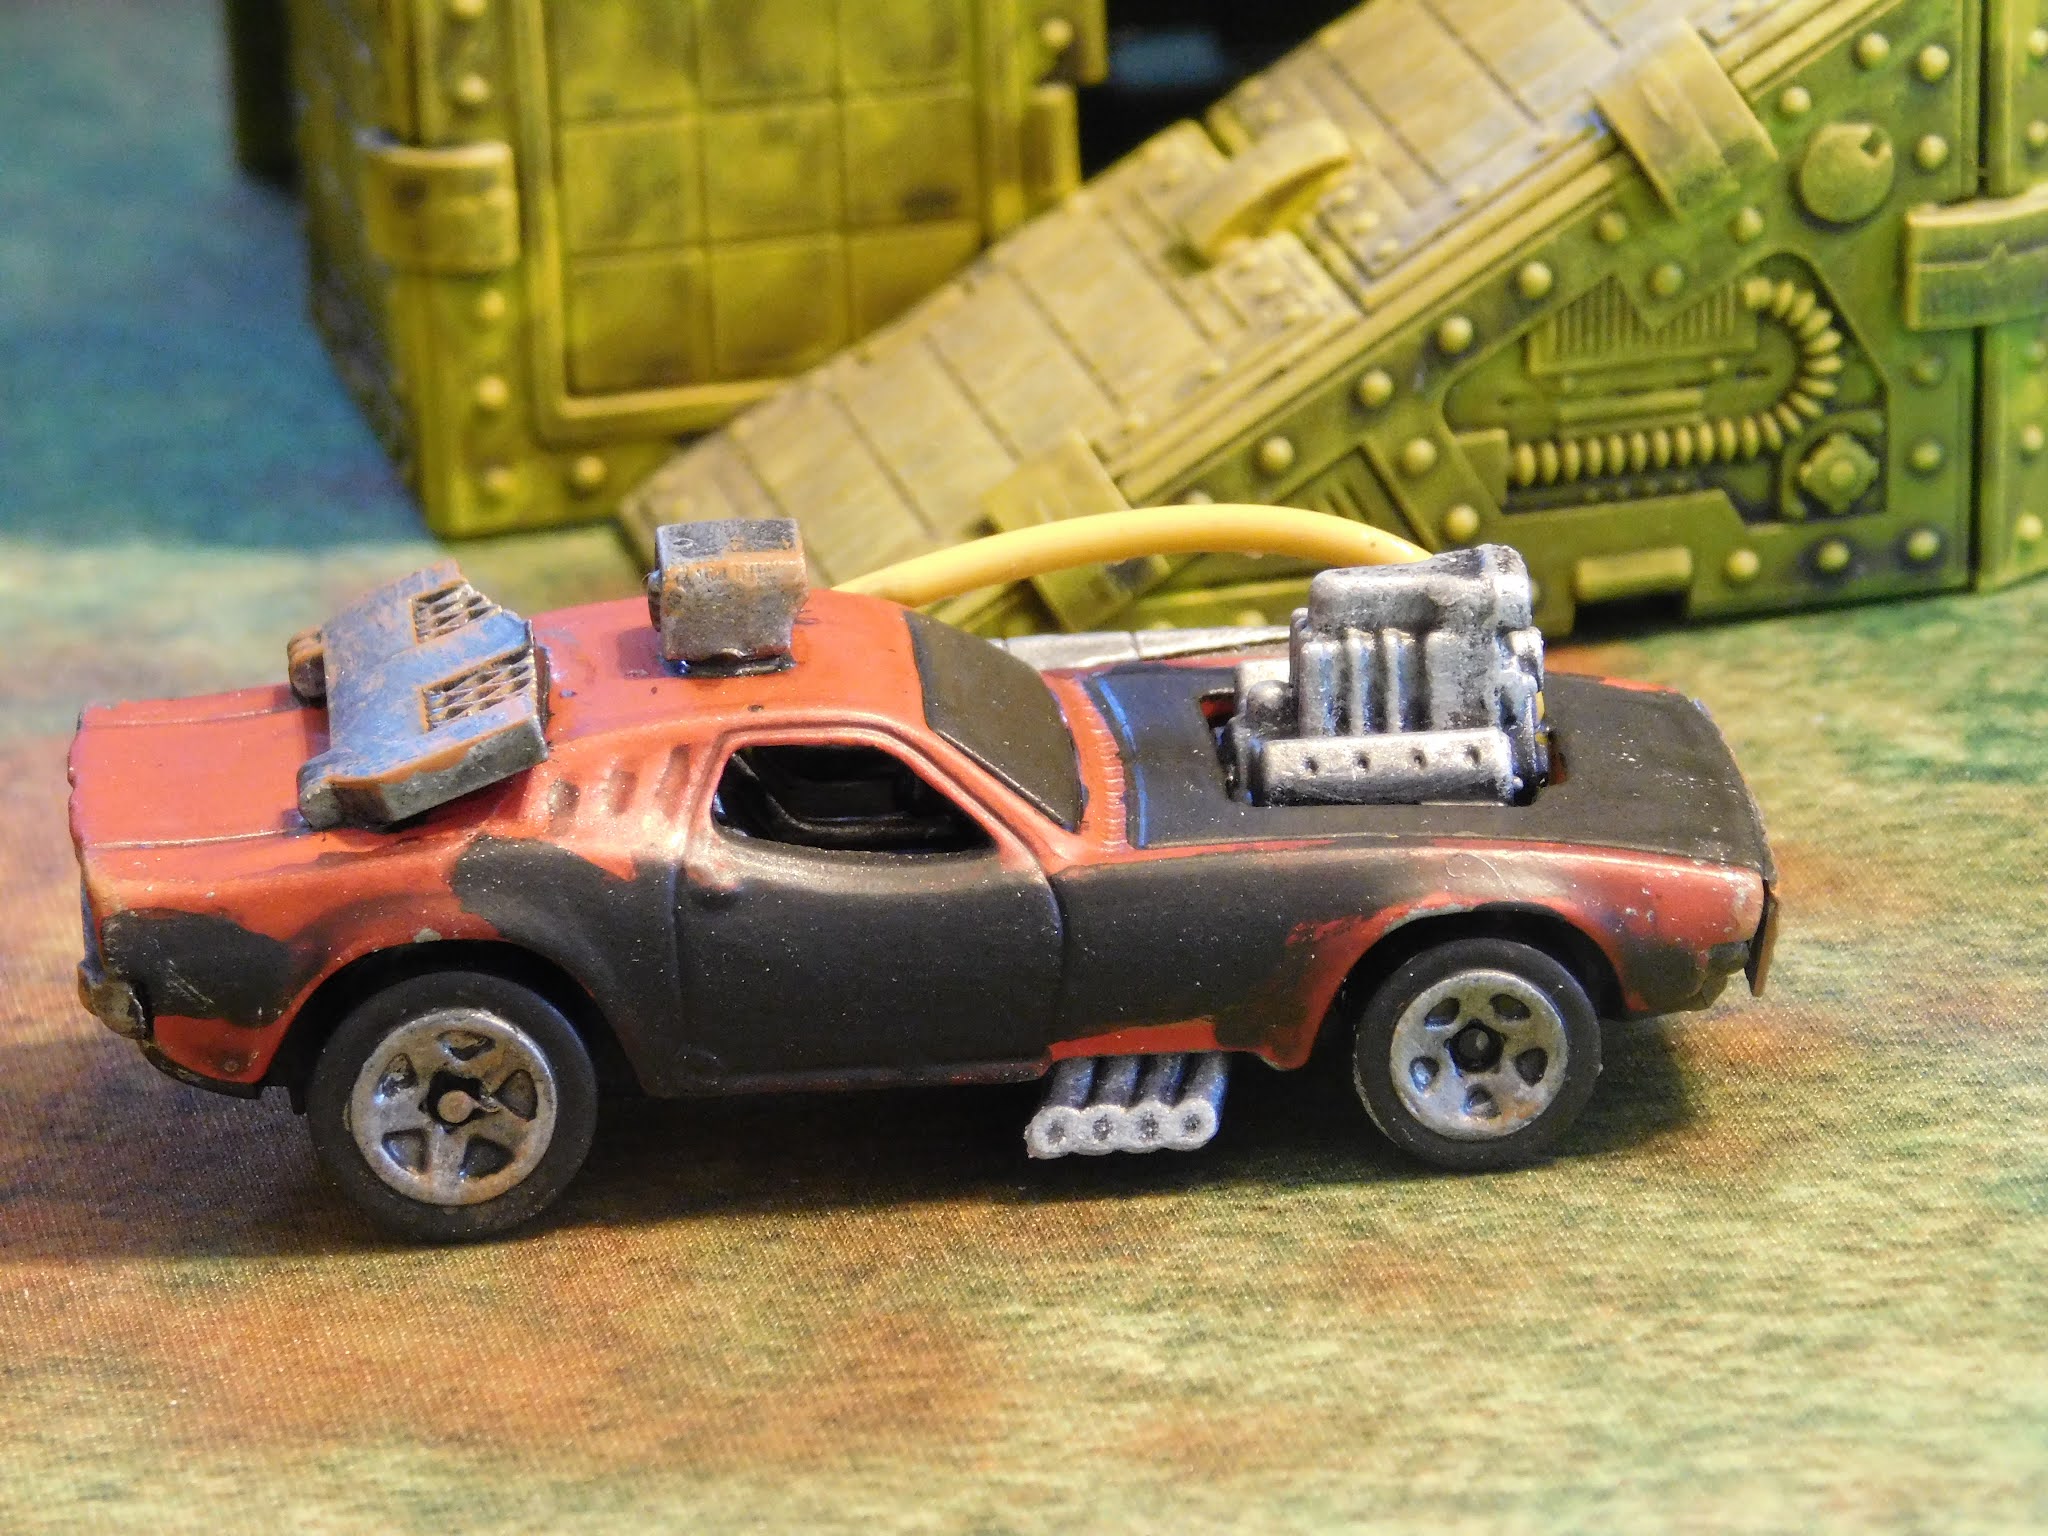
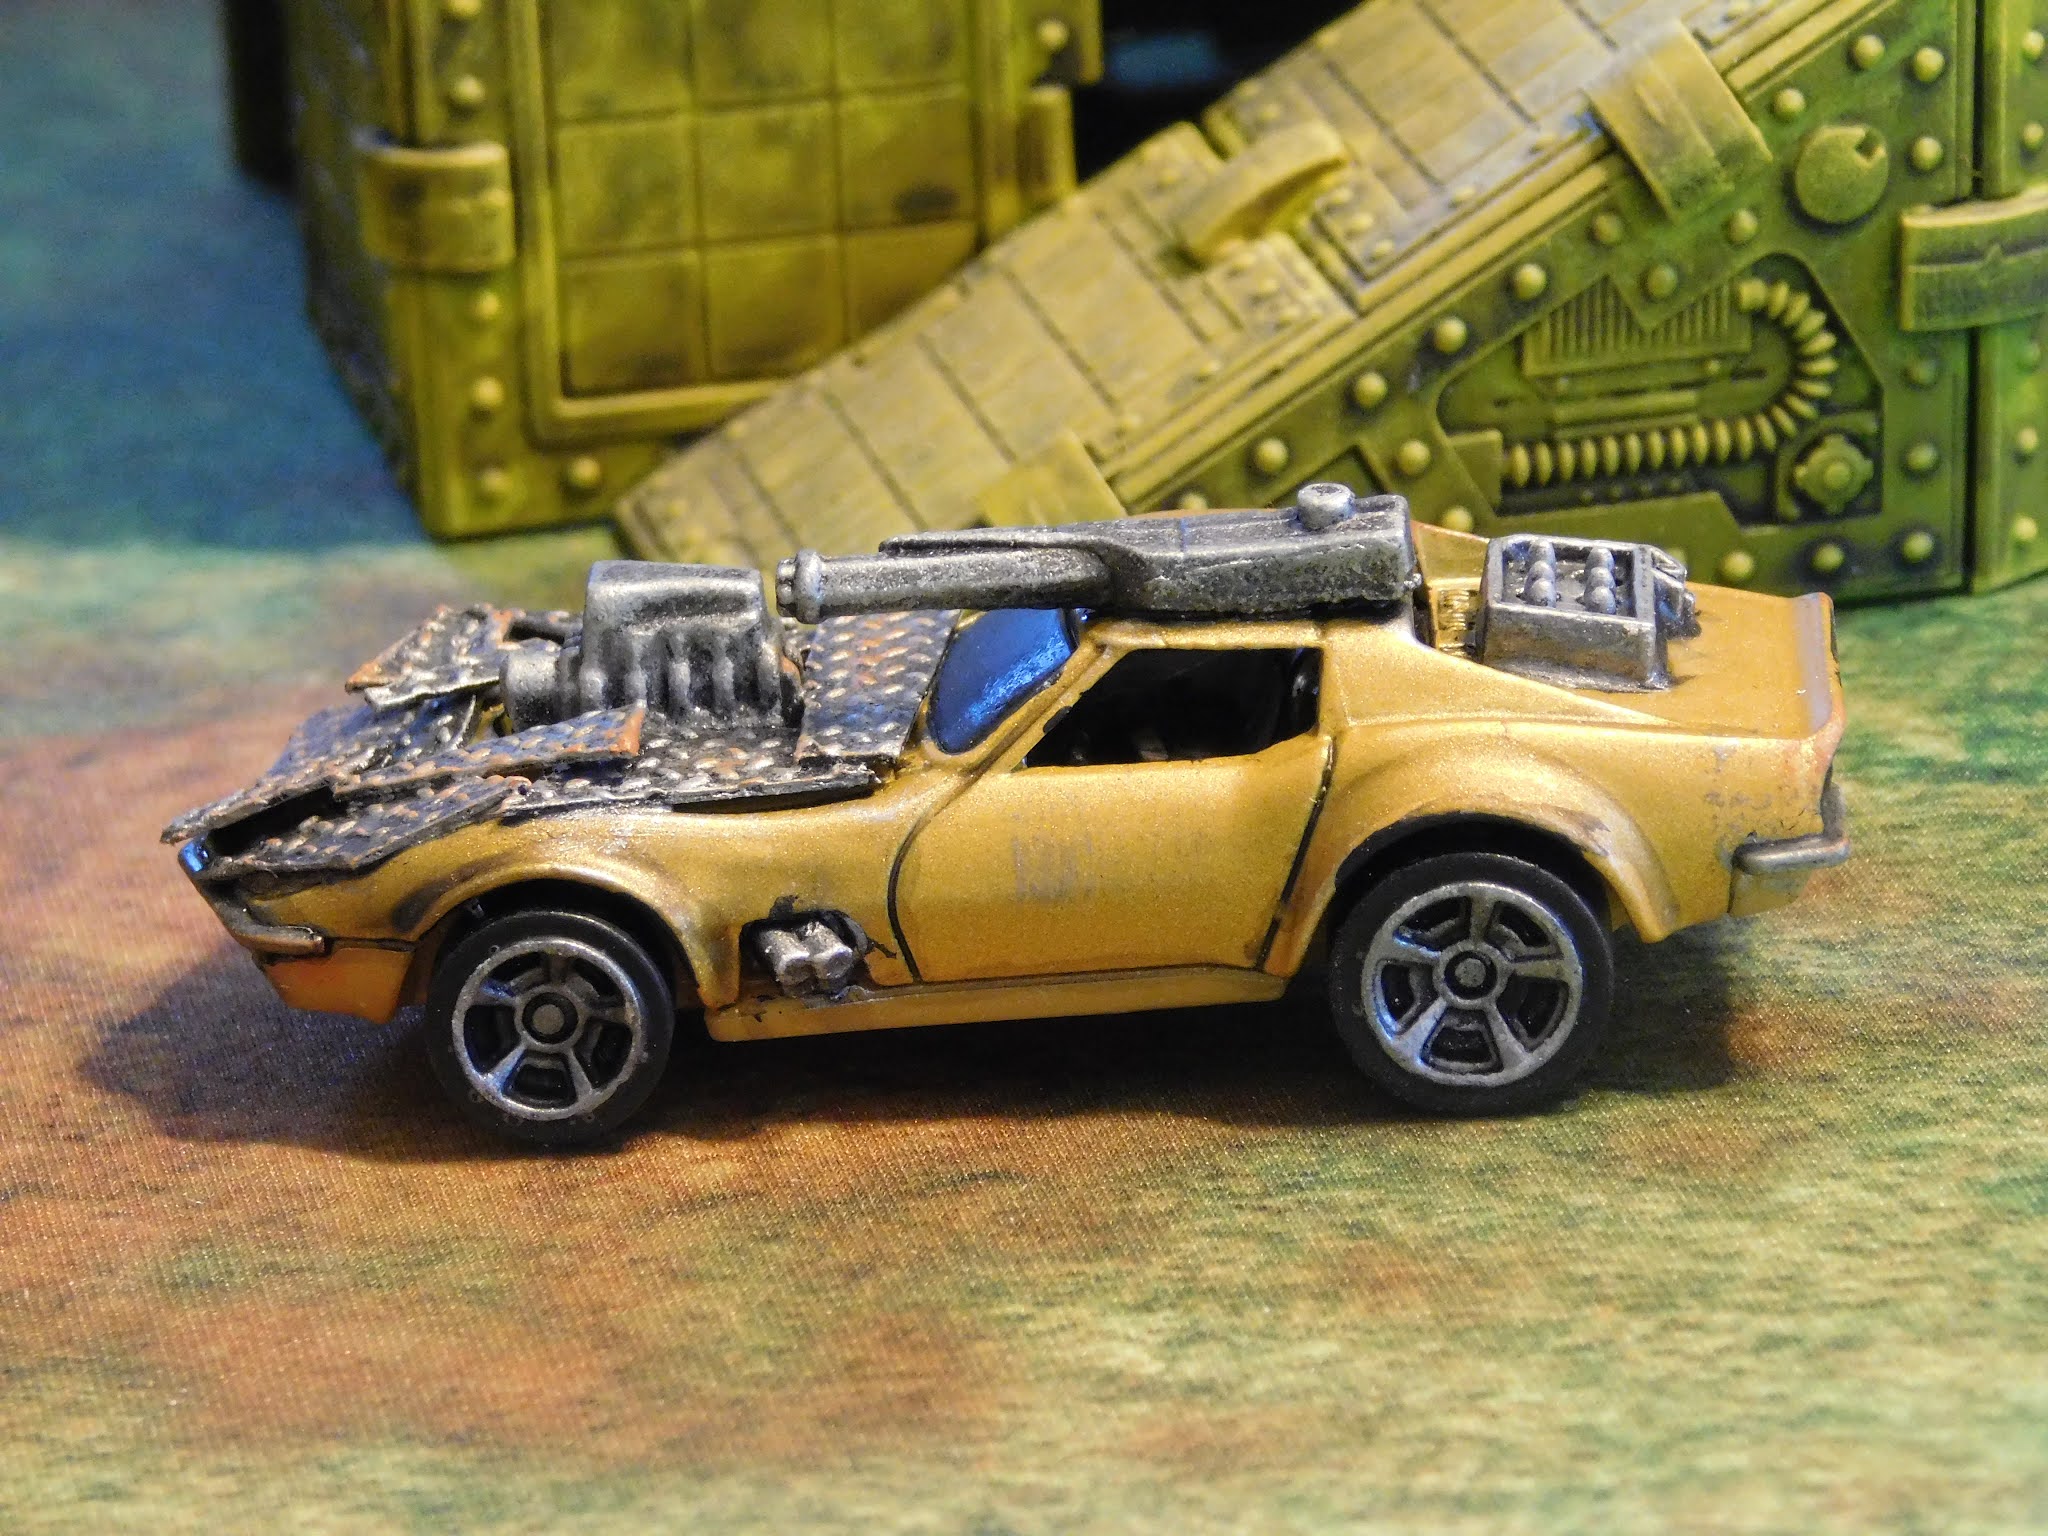
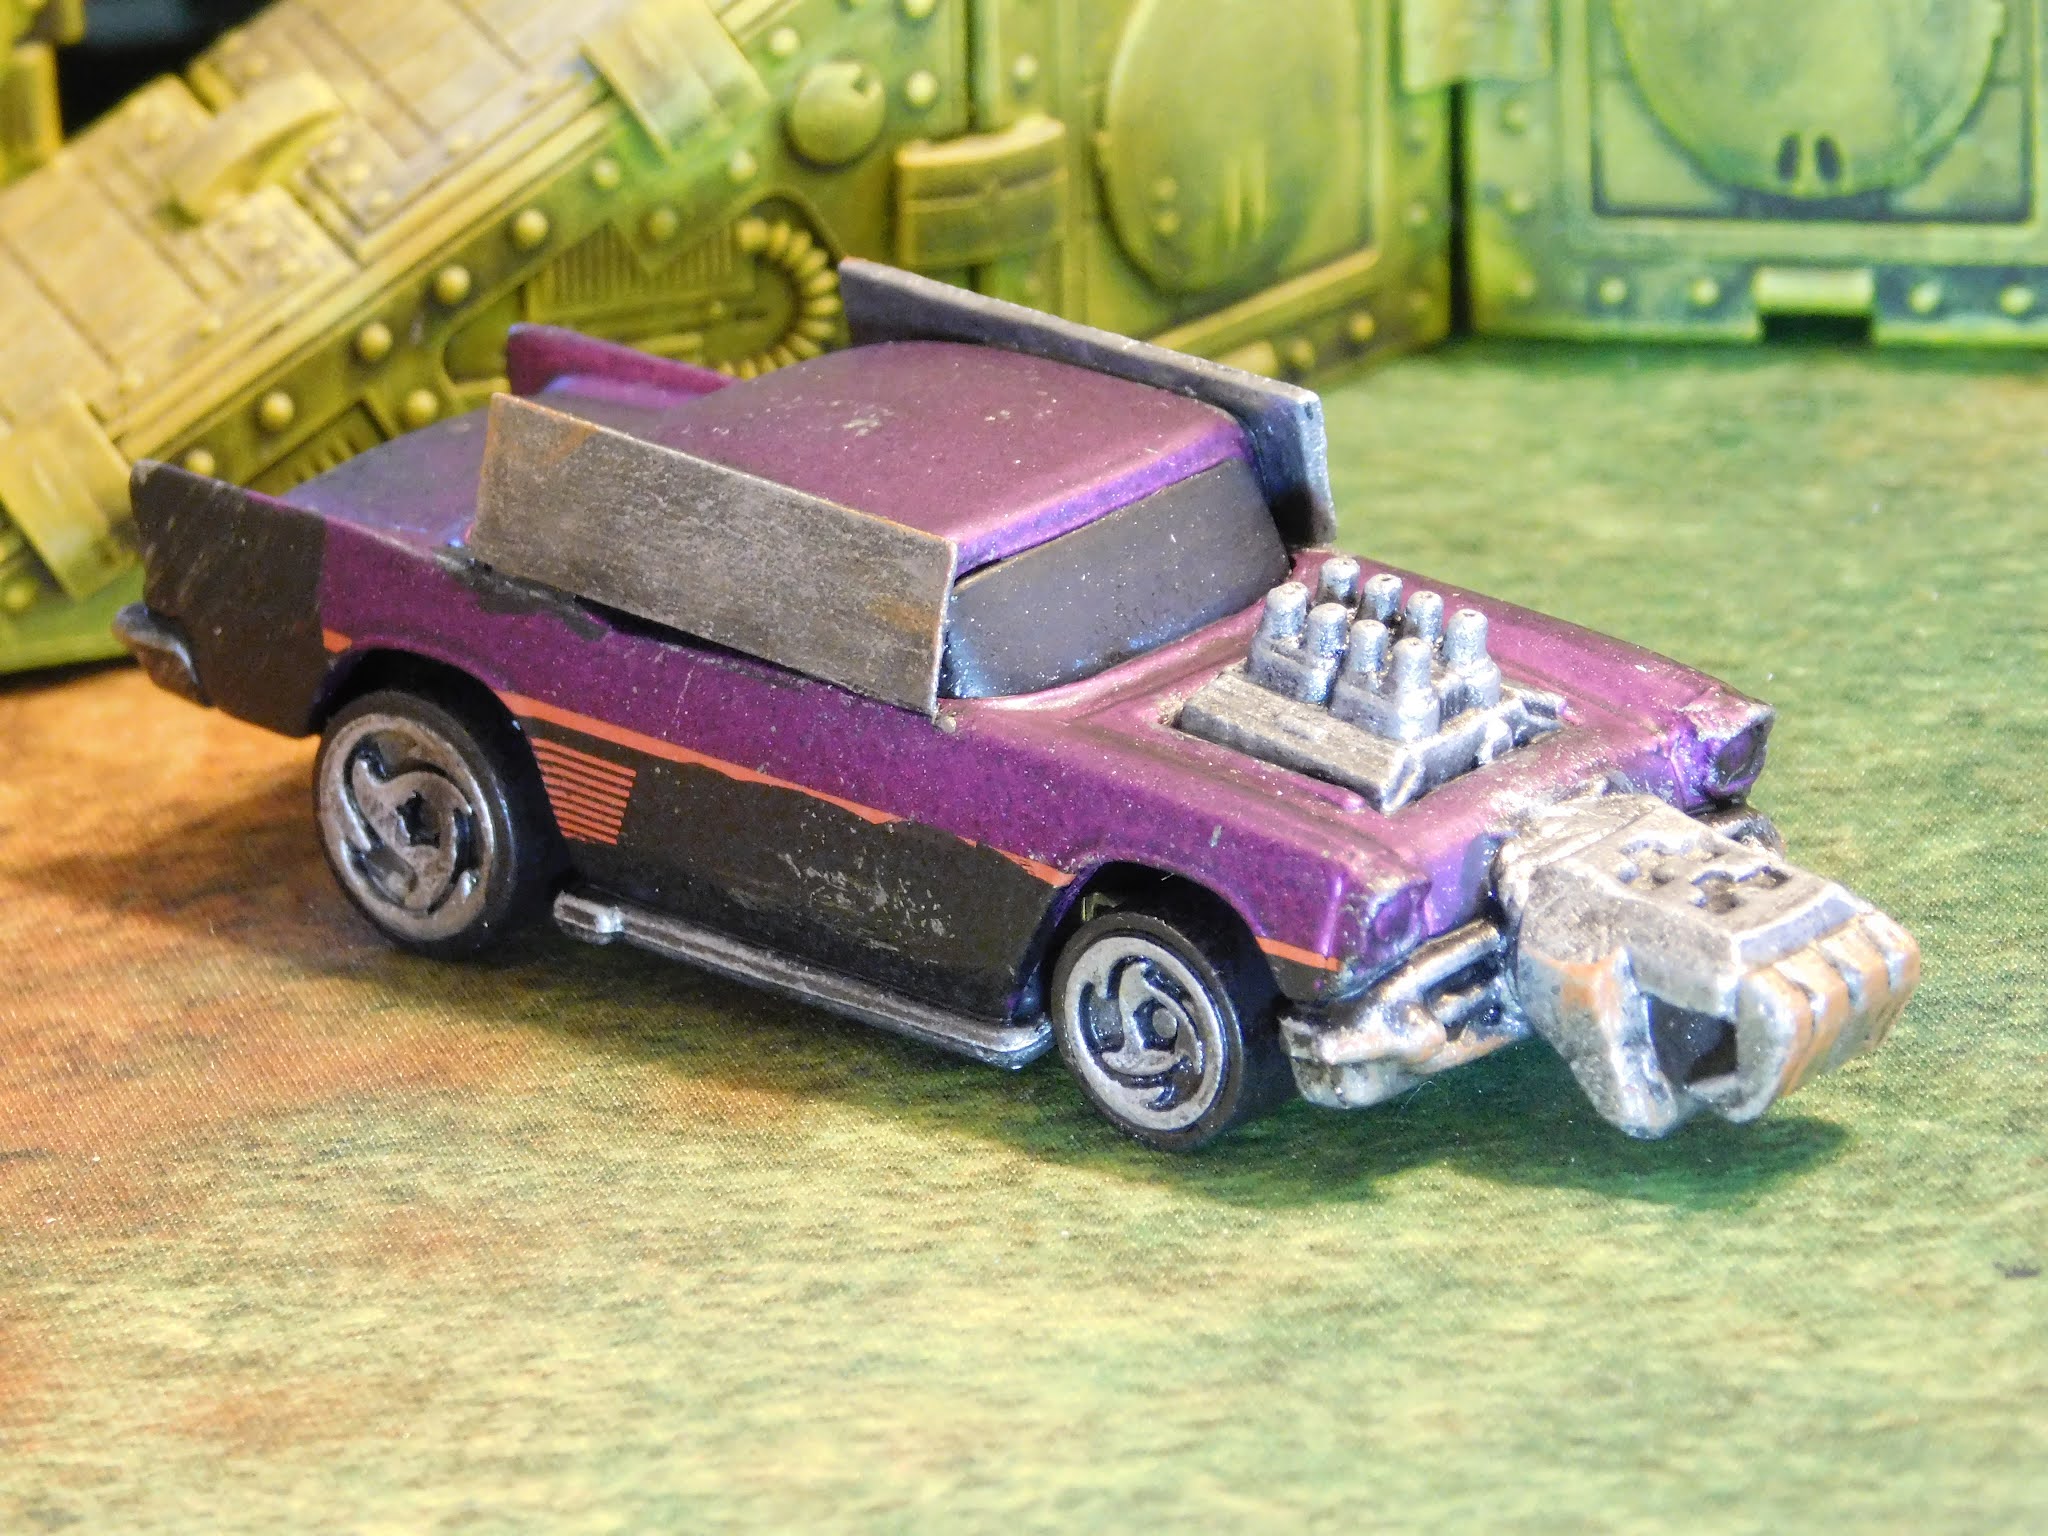
Here are my latest Gaslands vehicles. As I did with the previous batch of Gaslands models I decided to use parts raided from various bits boxes around my hobby room. perhaps you can spot bits from various sources including Games Workshop models, bits of sprue, Parts cut off of HeroClix MechWarrior models, diamond plate for railroad models, parts from bolt action vehicles and random parts for model kits. I also used wires from video card power supply adapters and the chicken wire I used is cut up parts of a grease splatter preventer from the dollar store. I used Instacure cyanoacrylate medium to glue everything on the cars and would often use Insta-set accelerator which works very well to quickly attach the parts to the vehicles.
Due to the freestyle nature of Gaslands model building and painting I generally don't really follow any concrete plans when I make Gaslands vehicles. The only overarching plan I had for this batch of vehicles was that I wanted to try and retain some or all of the original paint job that the manufacturer had put on the car.
In order to do this I needed to put some type of precoat on the vehicle so that the Vallejo acrylics I was using wood stick. I did some research and couldn't really find a clear primer so I ended up using Testors Dullcote. I typically use Testors Dullcote as the final step in any painting project in order to dull down the models after the second to last at which is usually painting them a floor polish. In this case I used it as a primer.
When I spray with rattle cans I usually get too close. It's a bad habit I'm trying to break because it can lead to over spring which will sometimes leave globs of paint on the model. I did make the mistake of overspraying on this project, but I was able to cover up any of the mistakes with are there painting effects like chipping and rust and going back over with paint.
This project served as a great reminder to keep a good distance between the model in the can when using rattle cans, and also not to blast a smaller model with a long burst of spray. Misting while moving the can from side to side is a much better approach.
After laying down a base coat with Testors Dullcote by then tried painting the model with Vallejo paints. This didn't really work that well as the paint took a long time to dry and did not adhere as well to the Testors Dullcote as I would have liked. A couple of times when I went to test the pain entire sections of it just came loose. Because of this I decided to prepare sections I was going to paint by base coating them again with Vallejo black primer. I just squirted some Vallejo black primer 74.602 in a small bowl and brushed it on. Starting with black primer over the Testors Dullcote gave the Vallejo acrylic something to grab onto and everything went smoothly after that.
I tried to choose darker colors so that I would not have to go over the primer with multiple coats. I did not want to spend a great deal of time on these vehicles so I chose pretty simple paint schemes. Most of the stuff I attached to the vehicles was simply painted with Vallejo Game color Gunmetal 72.054 washed with Games Workshop Nuln Oil and dry brushed with Vallejo Chainmail Silver 72.053 and then dry brushed with Vallejo Silver 72.052.
Any of the original paint job I didn't want to keep because it didn't look good such as the Hot Wheels emblems I simply painted over with Vallejo Black primer. I painted some Nuln Oil in some of the crevices to create depth. Then I used some brown and orange pants to create rust. I then took a sponge which was pulled apart a little bit and did some chipping with Vallejo Gunmetal and then some dry brushing on the cars with the rust mixture.
On one of the cars I decided to experiment with some AK-47 weathering pigments and pigment fixer. In a previous project I had tried brushing this on two models and did not use the pigment fixer and everything was kind of a mess. This time I decided to use them as intended. I took a brush and dropped some of the pigment on the vehicle and then dripped a bit of the pigment fixer on the pigment. This had the effect of fixing the pigment in the exact shape I had put it on the model so that the dirt look like a clump of dirt and not just dirt rubbed on the side of the model. After seeing the results and liking them I kind of went a little overboard and repeated the process all over the model. I will probably be using this technique on a lot of future Gaslands vehicles as it really does make the thing look rusted and dirty. I can highly recommend the AK-47 pigments for this application.
Another thing I learned making these vehicles is that a great-looking technique is to take a piece of deck plating from a model and glue it to a window, for example. And then after the glue is dry snip the parts away that are not actually glued to the model. You can see where I did this to the pickup truck. It makes it look like the piece was cut to fit the shape and then welded to the side of the vehicle.
I hope you enjoy these pictures as much as I enjoyed making the models. Cheers.