Sunday, August 2, 2020

Warlord Games Bolt Action Soviet Troops - The First Batch

About a year ago I purchased Warlord Games Soviet starter Army. I was caught up in a bunch of other projects like the Space Hulk sets I built and painted and since going into quarantine I have found myself the great deal of time on my hands. I found myself with so much time on my hands that I was able to finish the Genestealers and Terminators from Space Hulk ( see previous post) and was able to start on my Soviets. These are the first batch of Soviets that I built and painted. 


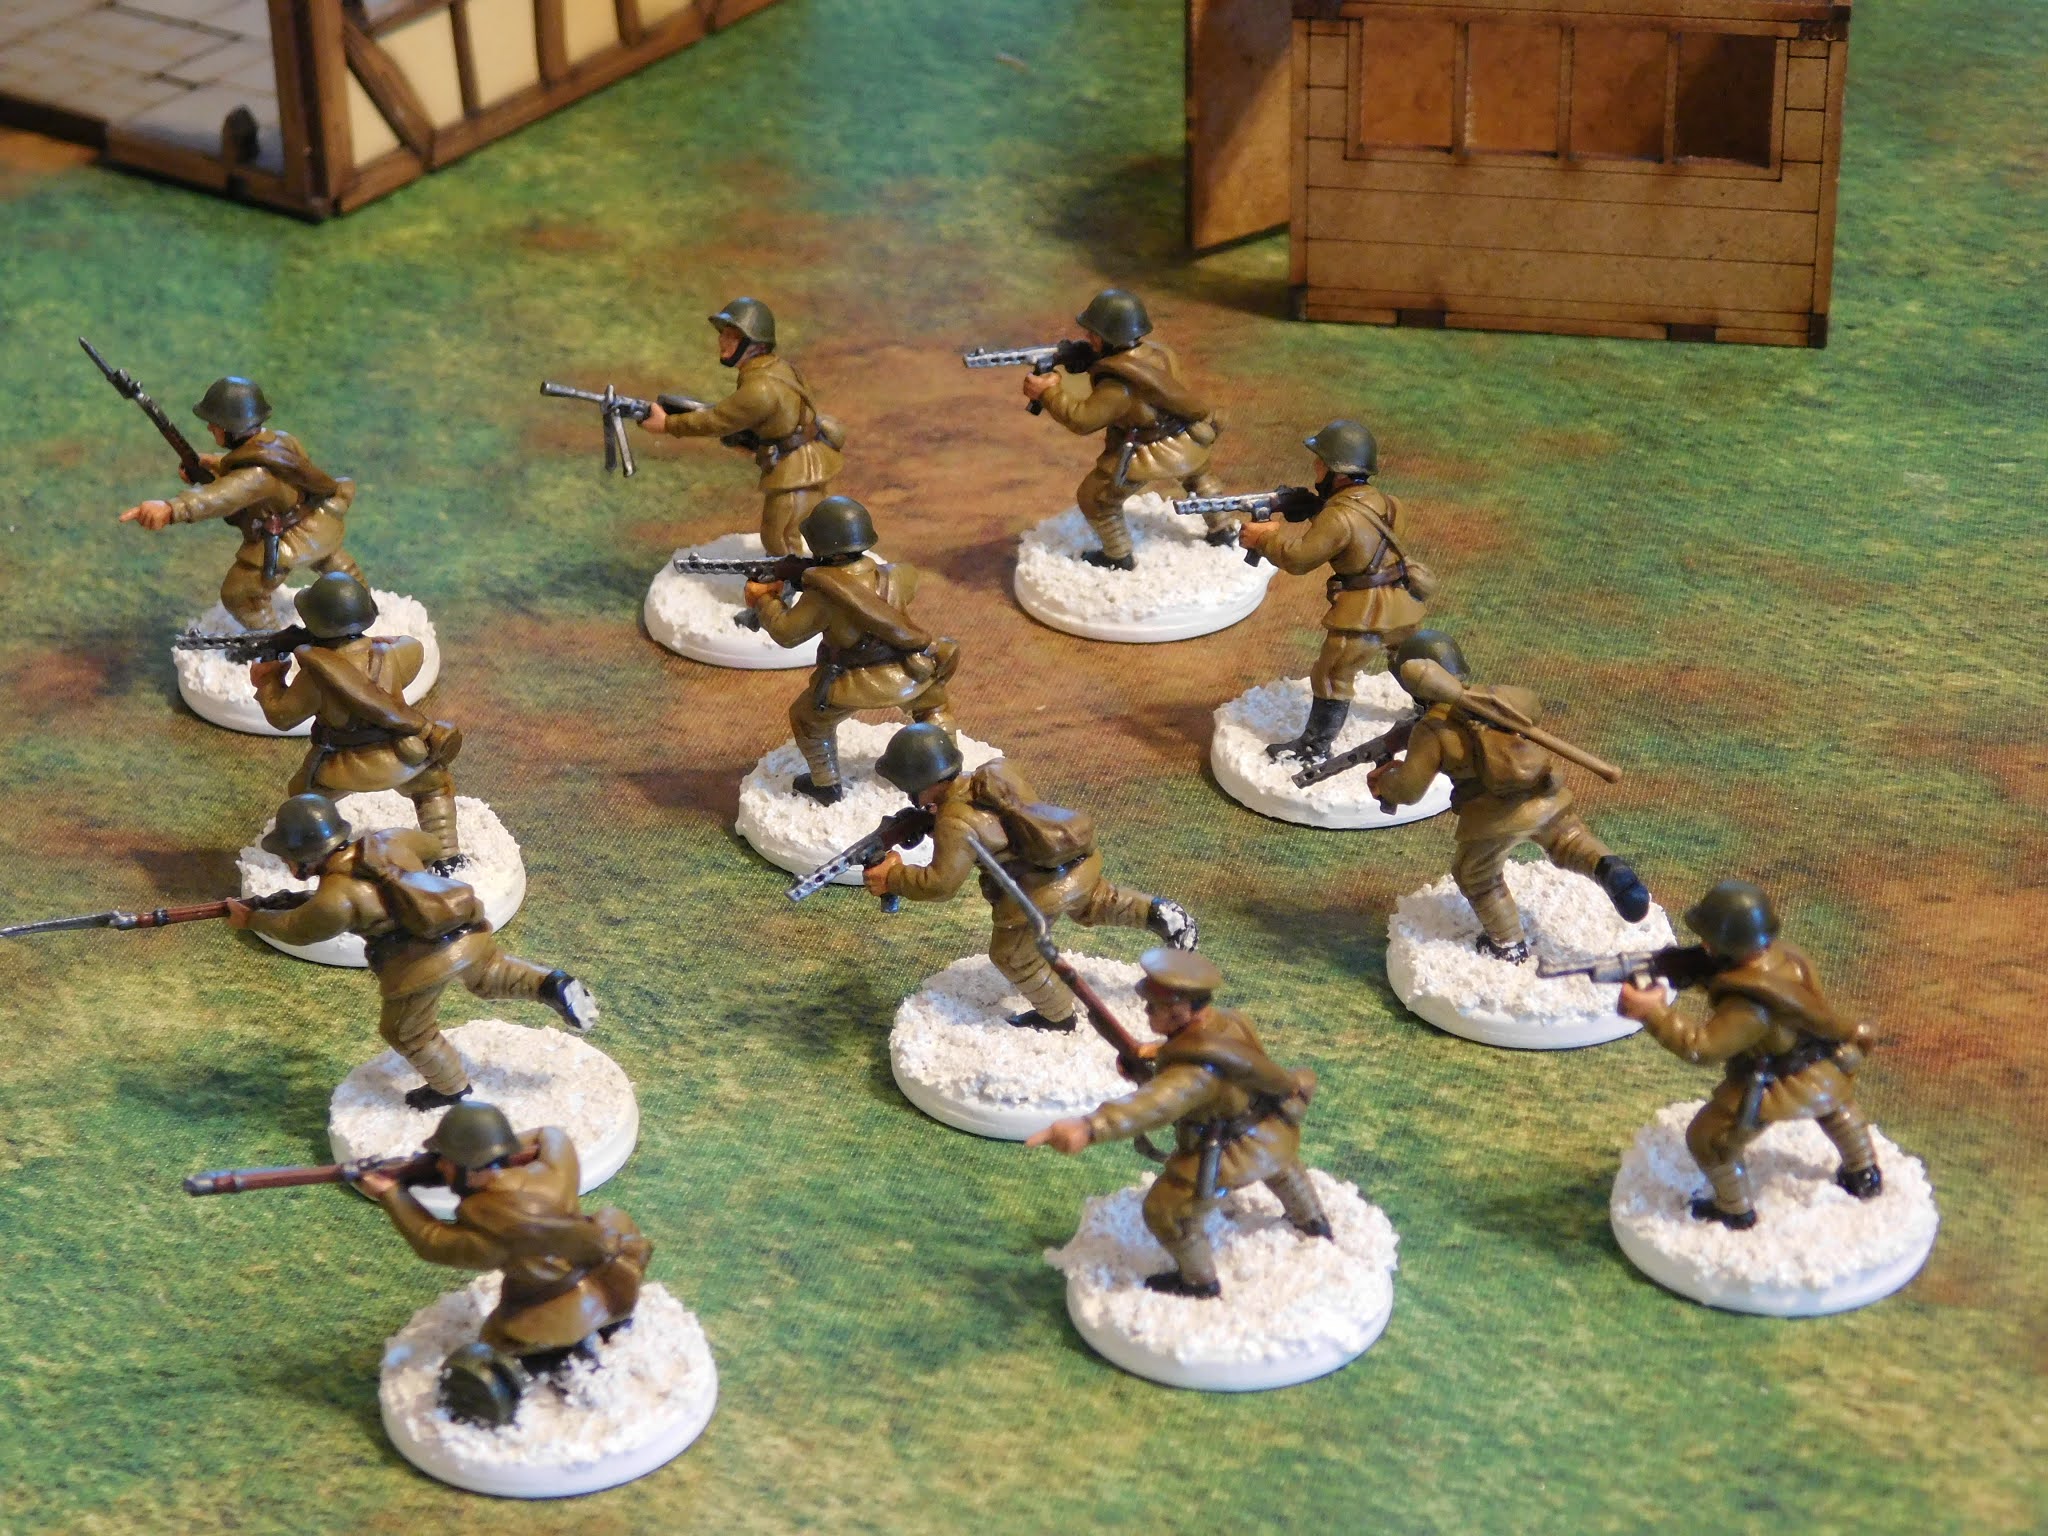
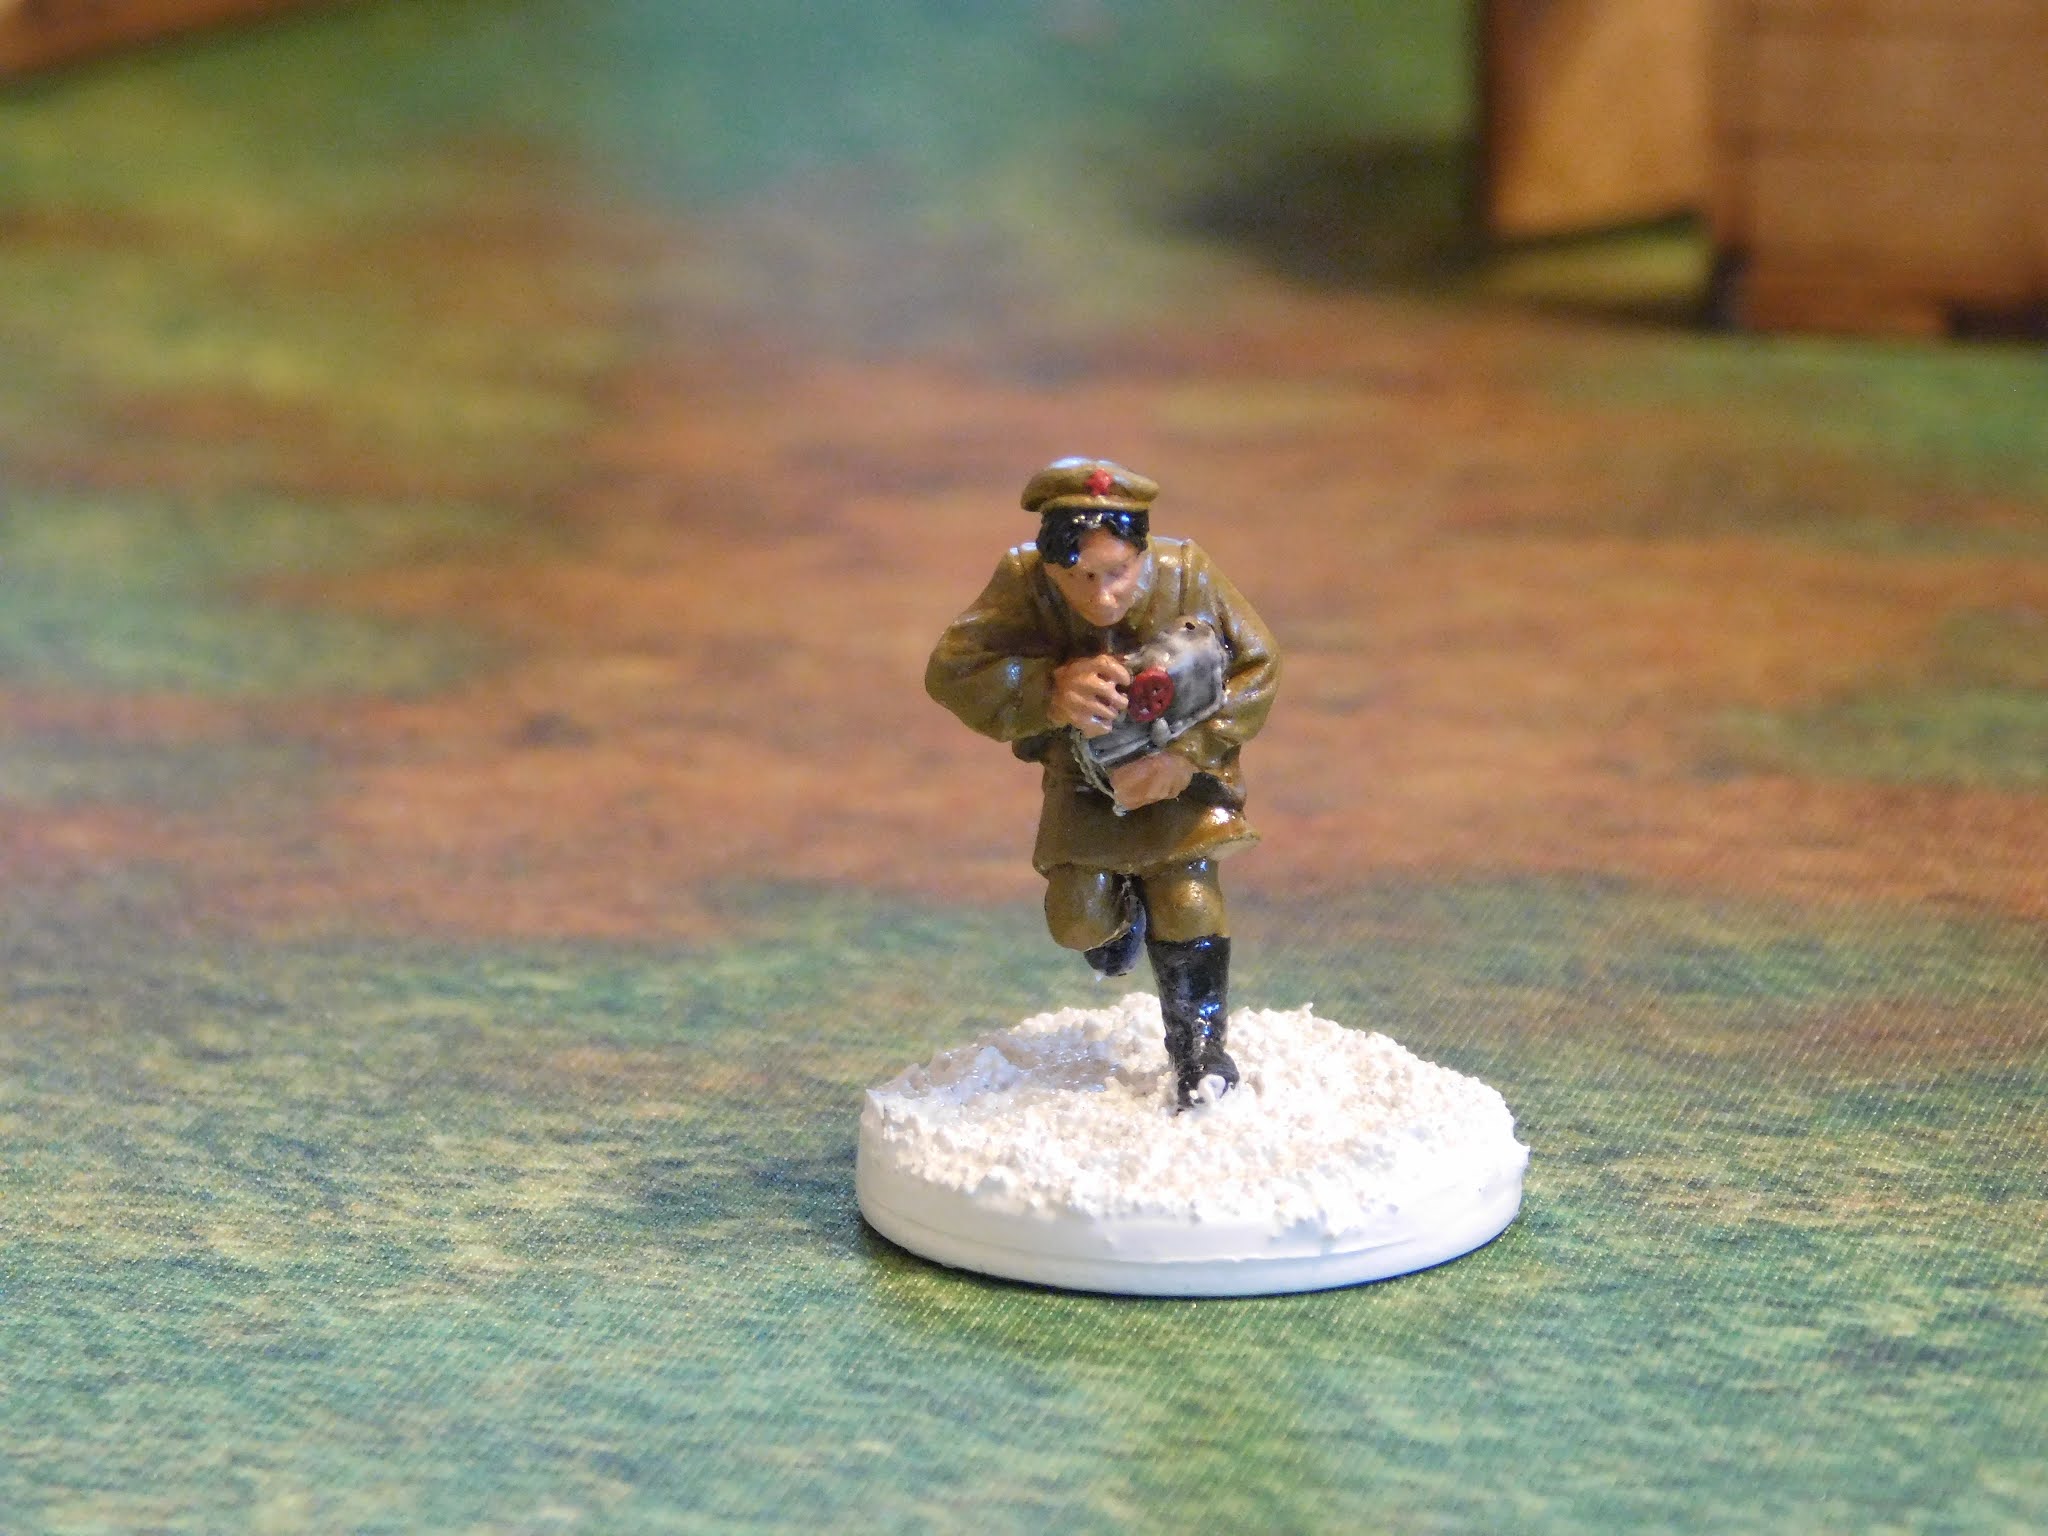
These are the models in the Soviet summer gear. They are going to be my inexperienced or regular troops. The guys with the molotov cocktails will be my green troops.  Also in this batch are three anti-tank units. These are troops with light anti-tank guns which will hopefully give some medium armor Nazi tanks a bit of trouble. I have a mix of rifleman troops and submachine gun troops in this batch as well. You can also see a medic I have named Doc Olga hopefully she will save a few socialist lives.  included in this group is also a few models and some support models from the mortar team that came with the main box.


 I pretty much painted these according to the suggestions on the warlord games Soviet paint set website.


Here's the link:


Warlord Games Soviet WW2 Paint Set


As you can see I used khaki gray for the uniforms and side caps on the summer models. I used black for the boots, hair and helmet straps.  I did their helmets in camo olive green and their leather straps I did with German, medium brown. For all of their webbing and straps a used khaki and for their bedrolls or backpacks I used English uniform Brown.  As always I used Vallejo gunmetal for their guns and mahogany for their rifle stocks.


  • Khaki Grey (Vallejo 880): Uniform and sidecap

  • Flat Red (Vallejo 957) Epaulette Piping and sidecap red star

  • Black (Vallejo 950): Boots

  • Camo Olive Green (Vallejo 894): Helmet

  • Khaki (Vallejo 988): Webbing

  • English Uniform Brown (Vallejo 921): Bedroll/greatcoat

  • Japan Uniform WWII (Vallego 923): Padded tunic or trousers

  • German Camo Medium Brown (Vallejo 826): SMG and rifle ammo pouches

        After base coating I used a 60/40 mix of  Agrax Earthshade and Lahmian Medium on everything except for the gun metal parts. The gun metal Parts I shaded with 50/50 Nuln Oil and Lahmian medium. when all was said and done I used Vallejo Rough White Pumice  26.212 on the bases. this is an amazing hobby material as it can be painted up to look like mud or left white to look like snow. I then use Vallejo primer to paint the sides of the basis. Then I covered the whole of every model in floor polish,  let it dry and sprayed it with Testors Spray Lacquer AKA clear coat. The clear coat dulls that down back to a matte finish. Here are some pics:






Saturday, May 2, 2020

Space Hulk Genestealers

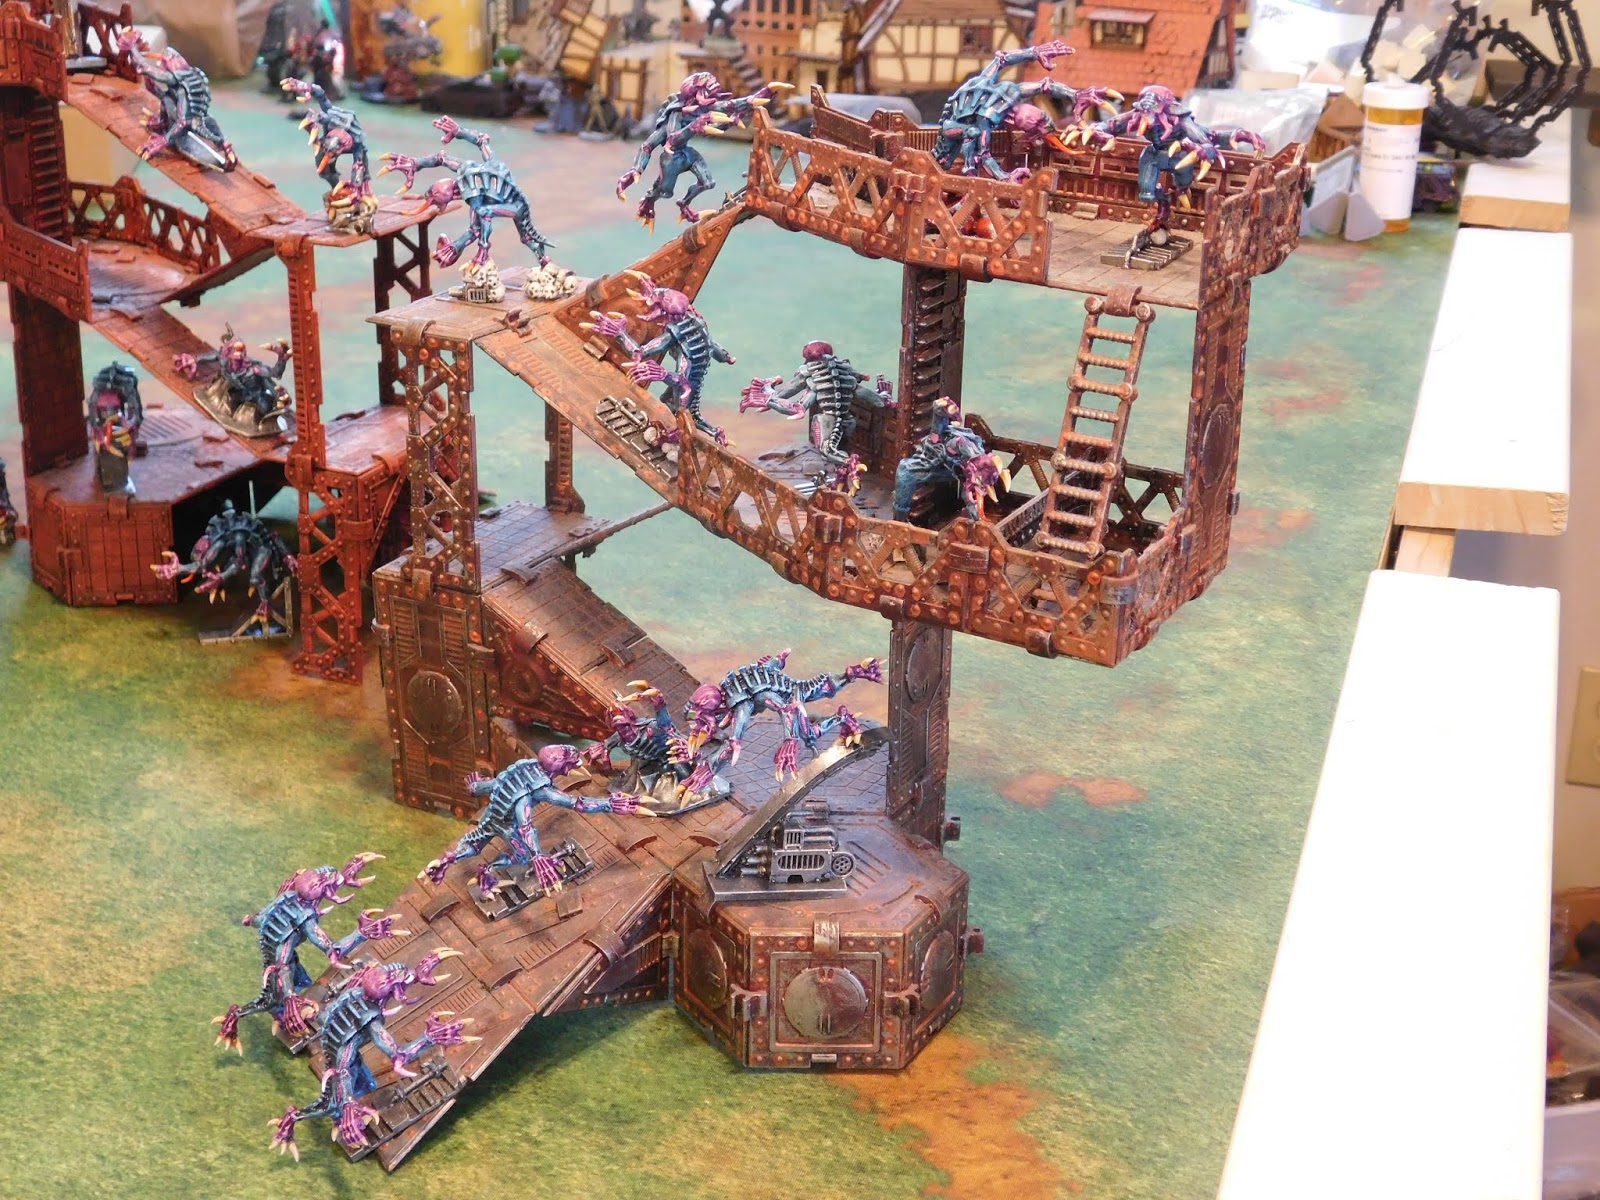
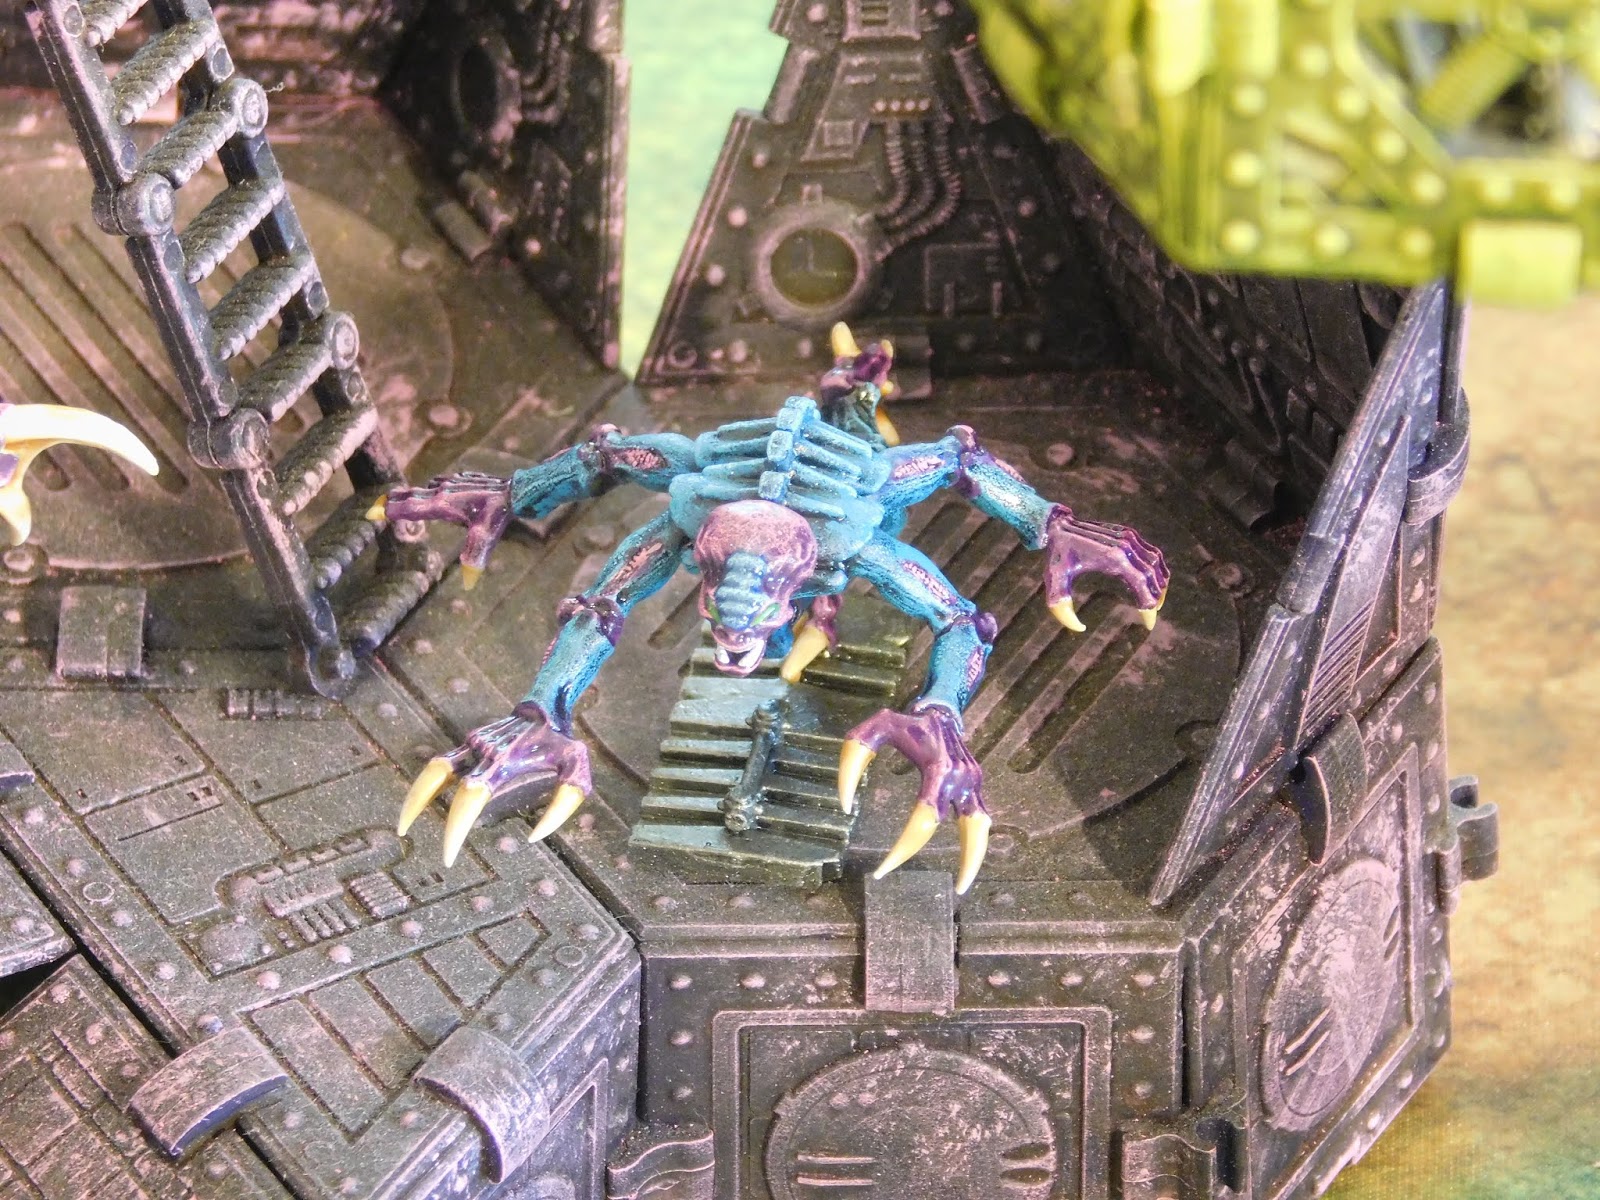
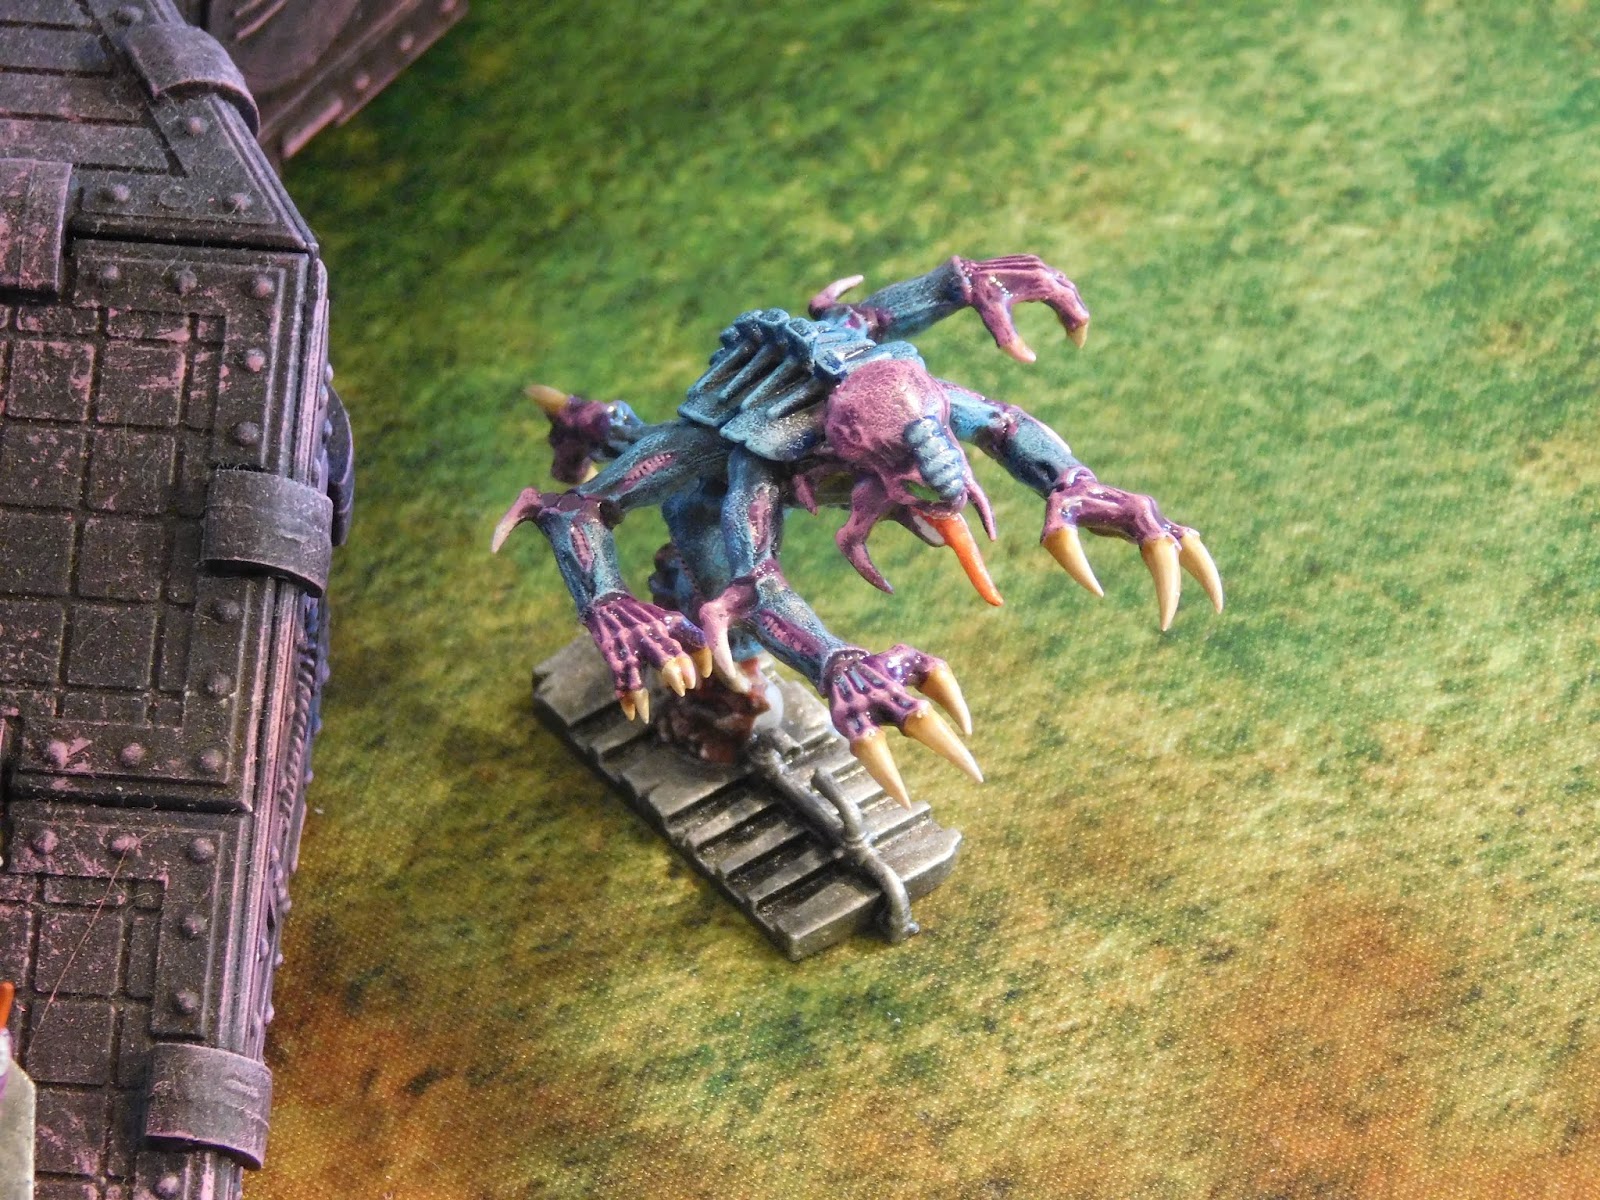
I have finally finished the two sets of Genestealers I started painting a year ago.  These models come from the 2014 reissue of Space Hulk and because my skill level isn't very high and I am kind of busy normally it took me a while to get all of this done.  These pics don't really do the paint job justice.  The result I got was better than I thought they were going to turn out.  I mostly used the scheme detailed here:


with some help from the good people at 


I added some ideas of my own and the results were much better than my previous efforts painting monster type models.  I primed the model with an iwata airbrush using vallejo black primer 74.602. then I did the carapace with drybrush layers of the following Vallejo paints: imperial blue 72.020, magic blue 72.021, then washed them with a 50/50 mix of Games Workshop's Drakenhoff nightshade and Lahmian Medium then a drybrush of Vallejo sky blue 70961.  Then I painted the fleshy parts with Vallejo white 70.951.  After that I did the fleshy parts with drybrush layers of the following Vallejo paints: royal purple 70.810, warlord purple 72.014, then I washed them with a 50/50 mix of Games Workshop's Druchii Violet and Lahmian Medium then a drybrush of Vallejo squid pink 72.013. I painted the claws with Vallejo white 70.951 then bonewhite 72.034. Then I washed them with a 50/50 mix of Games Workshop's Seraphim Sepia and Lahmian Medium then a drybrush of Vallejo white 70.951.

The faces were various greens and reds for the teeth and eyes. I forget which I used.  The eyes were three different greens.  I went from large and dark to small and bright.  The tongue was a drybrush from dark near the mouth to bright orange near the tip.  I wanted the teeth to pop so those are just Vallejo white 70.951.

The horns that are on some of the bugs are a drubrush from warlord purple, to squid pink to white.  The skulls are painted Vallejo white 70.951. then wolf grey 72.047, then washed with a 50/50 mix of Games Workshop's nuln oil and Lahmian Medium. finally the skulls were drybrush with a bit of  Vallejo white 70.951.

The terminator armor was painted with Vallejo Heavy red 72.141, then drybrushed with vallejo bloody red 72.010 and then I washed them with a 50/50 mix of Games Workshop's nuln oil, and Lahmian Medium then I used a sponge to creat paint chips with Vallejo gunmetal 72.054. 

The bases were all painted with Vallejo gunmetal 72.054 and washed them with a 50/50 mix of Games Workshop's nuln oil, and Lahmian Medium. One of the bases has a rust wash mix on it.

This is basically what you can accomplish with just base coating, washing, drybrushing and a bit of layering.  You don't have to be a golden demon winner to get something that looks pretty good.  Also other people that look at your models will always think they look better than you do. 

I can heartily recommend using Vallejo paints.  They are reasonably priced and because they come in a dropper they last longer than paints that come in pots.  Just use a wet pallet and you will be streets ahead.  Games Workshop washes are my preferred method as well just make sure you use a bit of poster tack on the bottom of the pot to avoid tipping them over and losing a whole pot due to clumsiness. 

Anyway here are the pics: